Step 1: Assess Your Internet Needs and Existing Hardware
Before purchasing equipment, evaluate your current internet plan and home layout. Determine your required bandwidth based on connected devices: 25 Mbps is suitable for a single user browsing and streaming in HD, while 100–200 Mbps supports multiple 4K streams, gaming, and smart home devices. Measure the square footage of your space. For homes under 1,500 square feet, a single powerful router may suffice; larger or multi-story homes often require a mesh system (e.g., eero, Google Nest Wifi) or a router with extenders.
Step 2: Select the Appropriate Router Type
Choose between a traditional standalone router or a mesh Wi-Fi system. Standalone routers (e.g., ASUS RT-AX86U, TP-Link Archer AX73) offer higher top speeds and advanced customization, ideal for tech-savvy users. Mesh systems consist of a main router and satellite nodes that create a unified network, eliminating dead zones through seamless handoff. For gigabit internet plans, ensure the router supports Wi-Fi 6 (802.11ax) for better efficiency and capacity. Verify compatibility with your ISP—most modern routers work with cable, DSL, or fiber connections via an Ethernet WAN port.
Step 3: Gather Required Equipment and Tools
Your checklist should include: a wireless router or mesh kit, a modem (or modem-router combo unit, known as a gateway), two Ethernet cables (Cat5e or Cat6, with at least one long enough to reach your primary device), a computer or smartphone for configuration, and optionally a Wi-Fi analyzer app (e.g., NetSpot, Wi-Fi Analyzer for Android). Ensure your modem is compatible with your ISP—DSL requires a DSL modem, while cable needs a DOCSIS 3.1 modem for speeds above 300 Mbps. If using a combined modem-router from your ISP, you may need to place it in bridge mode before adding your own router to avoid double NAT issues.
Step 4: Connect the Modem to the Internet Source
Plug the coaxial cable (for cable internet) or phone line (for DSL) into the modem’s designated port. Connect the modem to a power outlet and wait for the lights to stabilize—typically the “Online” or “Internet” LED turns solid green. Do not proceed until this is confirmed, as the modem requires a valid activation from your ISP. If your ISP uses PPPoE or requires a static IP, have your username and password ready, which you will enter during router setup.
Step 5: Physically Connect the Router to the Modem
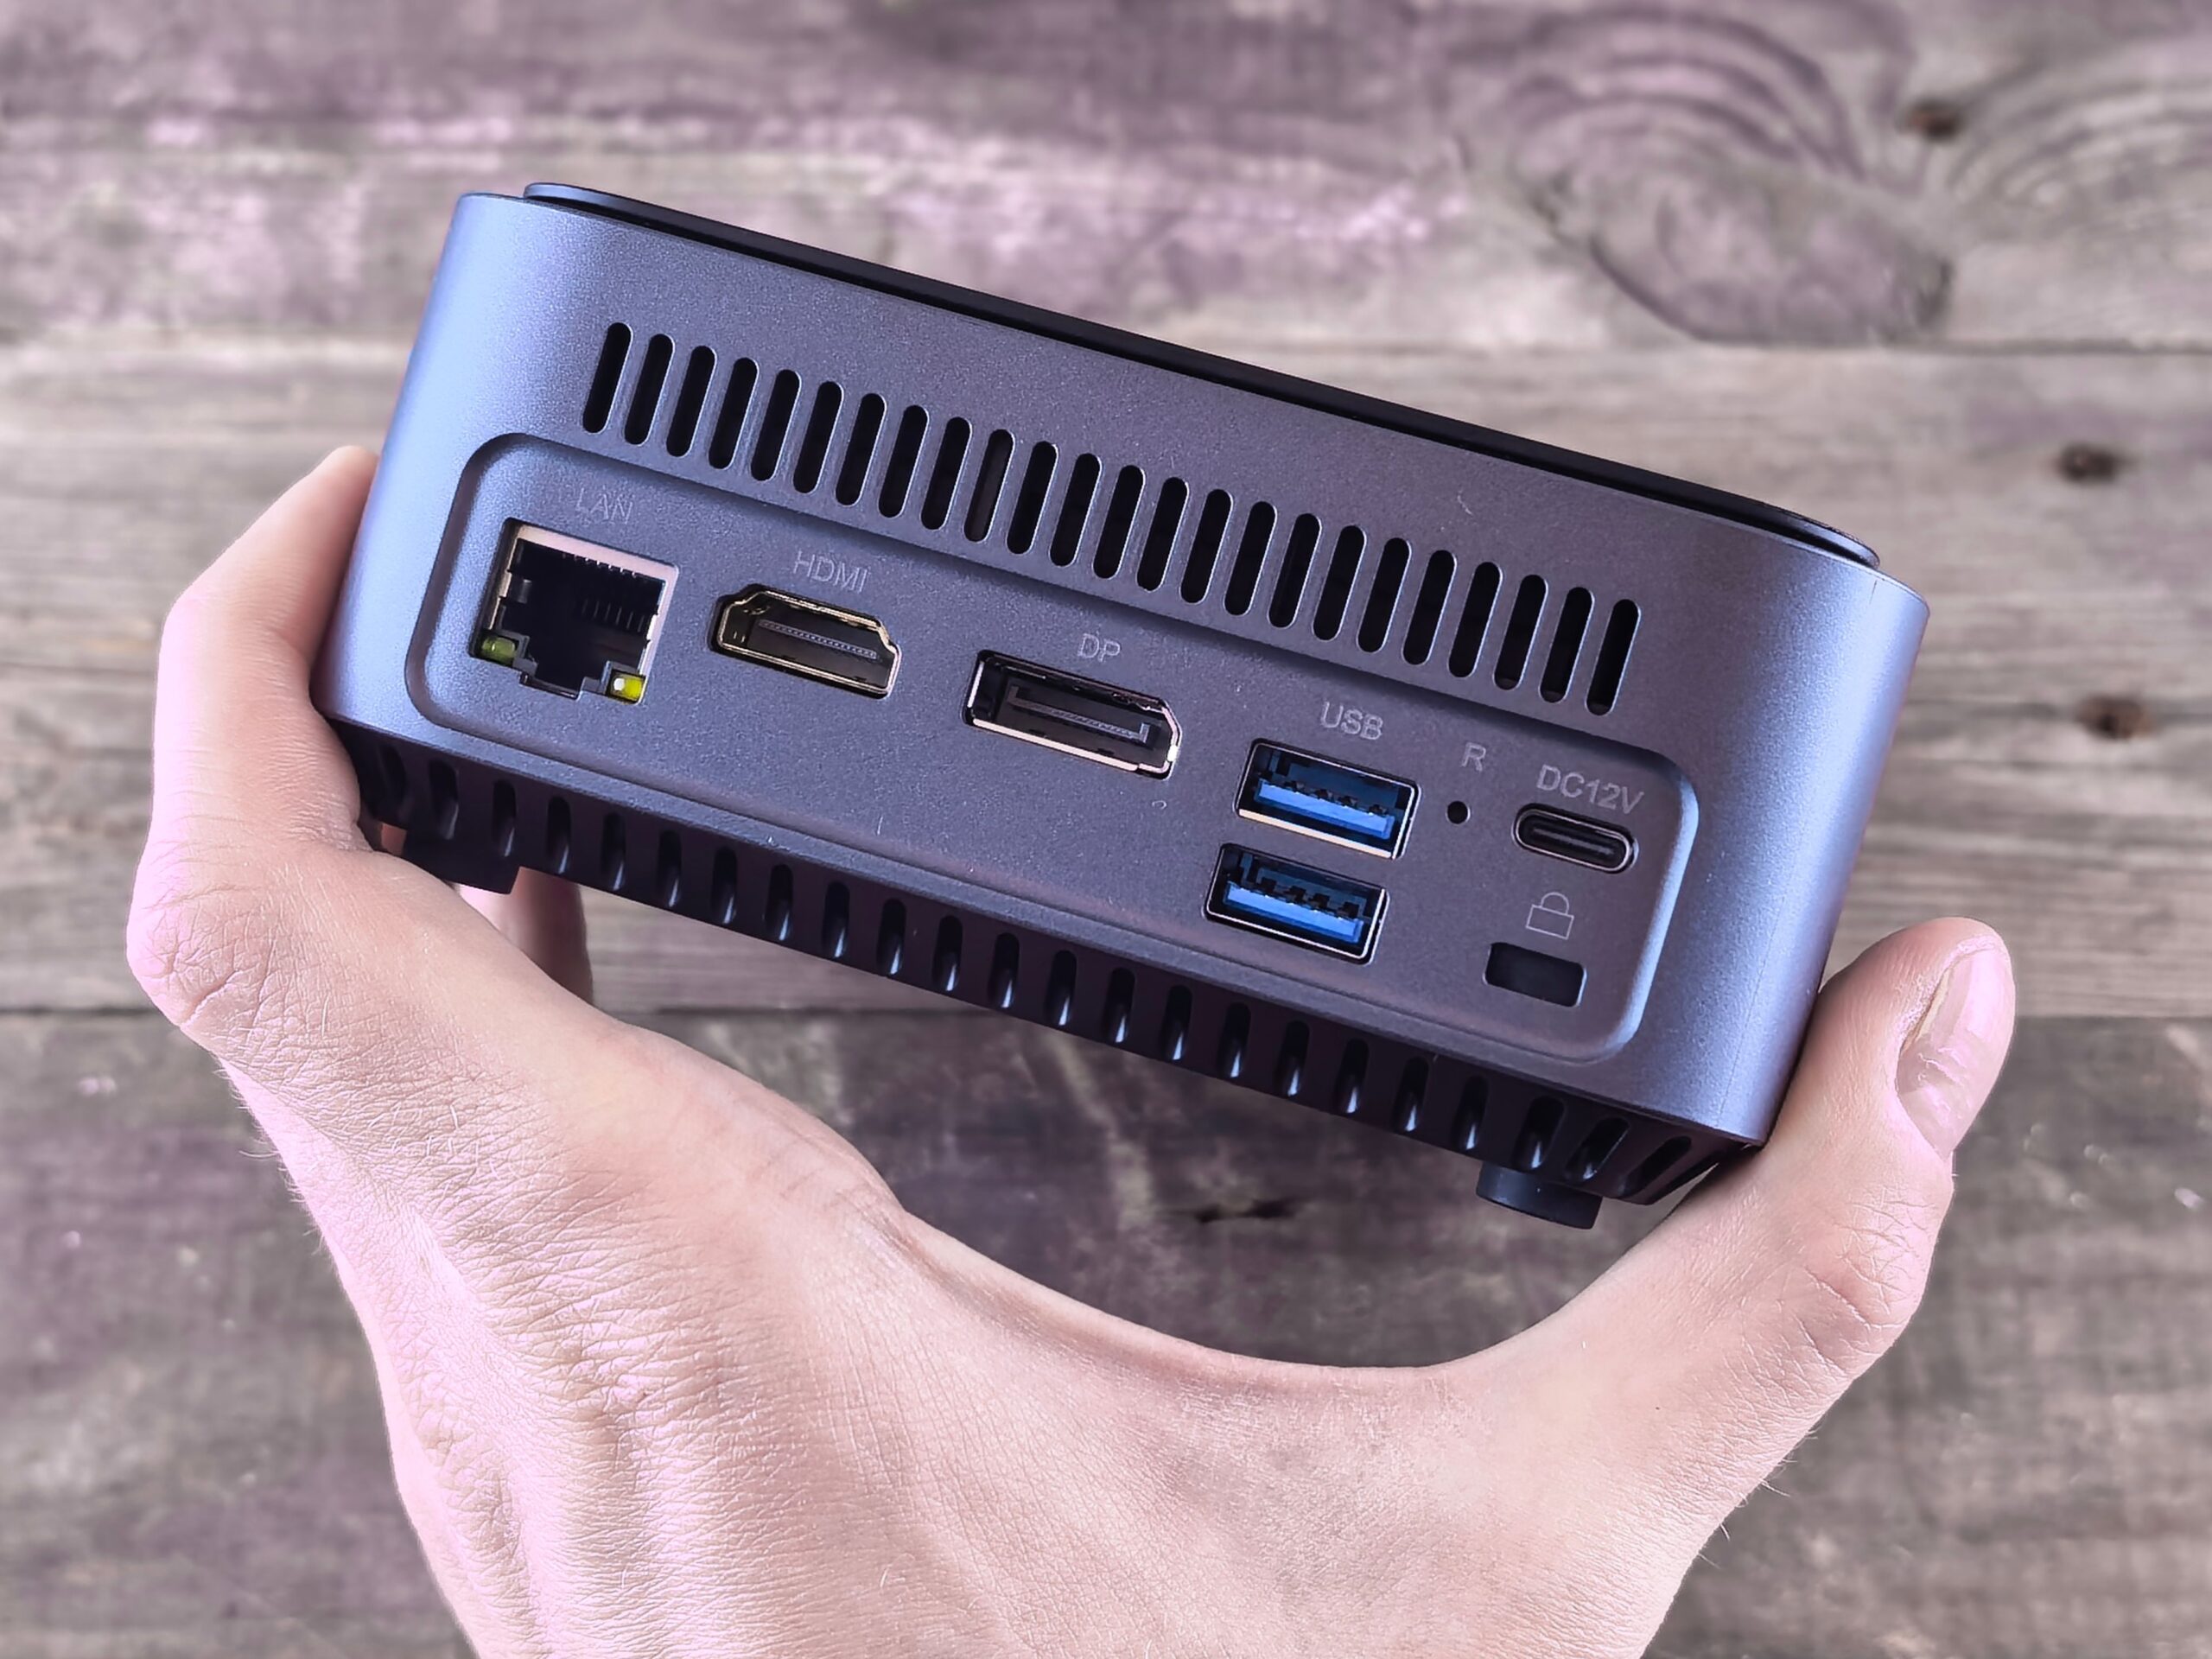
Using the first Ethernet cable, plug one end into the modem’s LAN/Ethernet port (often labeled “Internet” on the modem). Connect the other end to the router’s WAN or Internet port (usually color-coded yellow or highlighted). Power on the router. Wait 30–60 seconds for the router to boot. Check that the router’s WAN LED is lit or blinking—if not, try a different Ethernet cable or reboot both devices. For mesh systems, the main node must be connected to the modem via Ethernet; satellite nodes connect wirelessly or via their own Ethernet ports.
Step 6: Access the Router’s Web Interface
On a computer, open a browser and navigate to the router’s default IP address, often 192.168.1.1, 192.168.0.1, or 10.0.0.1. Alternatively, use a default URL like tplinklogin.net or router.asus.com. You will be prompted for a username and password—commonly “admin” for both, though look for a sticker on the router. If your router offers a dedicated mobile app (e.g., TP-Link Tether, ASUS Router app), download it from your phone’s app store. The app simplifies configuration and is recommended for beginners. Upon first login, follow the quick setup wizard.
Step 7: Configure Basic Network Settings
First, set an administrator password to secure router access (this is separate from your Wi-Fi password). Next, navigate to the wireless settings section. Change the Network Name (SSID) to something distinct but not personally identifiable (e.g., “SkyNet_2G”). Leave the security mode as WPA2-PSK or WPA3, if available—WPA2 remains the standard for compatibility. Create a strong Wi-Fi password (minimum 12 characters, mixing uppercase, lowercase, numbers, and symbols). Avoid dictionary words. For dual-band routers, most setup wizards will automatically create a single SSID that bands devices to the best frequency (2.4 GHz or 5 GHz); manual configuration allows separate SSIDs for legacy devices.
Step 8: Optimize Wireless Channel and Frequency Settings
To reduce interference, set the 2.4 GHz band to channels 1, 6, or 11 (the only non-overlapping channels in the US). For the 5 GHz band, use a Wi-Fi analyzer app to identify the least congested channel, then manually set it. Enable “Auto” for channel width: 20 MHz for 2.4 GHz to maximize coverage, and 80 MHz (or 160 MHz if supported) for 5 GHz to achieve higher throughput. Disable legacy “b/g” modes if all your devices support “n” or “ac/ax” to improve efficiency. If your router supports QoS (Quality of Service), enable it and prioritize traffic for video calls or gaming devices by MAC address.
Step 9: Secure the Network Beyond the Password
Disable WPS (Wi-Fi Protected Setup) immediately, as it is a known vulnerability. Disable remote administration unless strictly necessary. Enable the router’s built-in firewall (SPI firewall) and turn off UPnP (Universal Plug and Play) if not using devices that require it (e.g., gaming consoles). For advanced security, set up a Guest Network for visitors, isolating them from your main devices and local network. Choose WPA2 encryption for the guest network as well. Schedule a weekly automatic firmware update if the option exists, or manually check the manufacturer’s website quarterly.
Step 10: Connect Devices and Test the Network
On the device you intend to use most (laptop, phone, tablet), scan for your new SSID and enter the password. Verify internet access by visiting a reliable site like google.com. Run a speed test (e.g., Speedtest.net) both near the router and in the farthest room you use. Aim for at least 70% of your subscribed internet speed near the router; lower speeds suggest router placement issues or interference. Use the Wi-Fi analyzer app to check signal strength throughout your home—signal below -70 dBm indicates poor coverage. If dead zones exist, reposition the router (central location, elevated, away from metal objects and microwaves). For mesh systems, place satellite nodes halfway between the main node and dead zones, ensuring they maintain a “good” connection (typically green light).
Step 11: Configure Advanced Features for Performance
Access your router’s administration panel. If your router supports band steering, enable it to automatically direct dual-band devices to the faster 5 GHz band when in range. Set DHCP range to a smaller subnet (e.g., 192.168.1.100 to 192.168.1.200) if you have many static devices. Reserve IP addresses for critical devices like printers or security cameras via DHCP reservations. For mesh networks, enable “mesh technology” or “seamless roaming” to ensure clients switch nodes quickly without dropping connections. If your router has parental controls, set time limits or content filters for children’s devices by MAC address.
Step 12: Update Firmware and Schedule Maintenance
Firmware updates fix security flaws and improve stability. In the router’s admin panel, locate the firmware update section. Either download the latest file from the manufacturer’s support site or use the “Check for Updates” button if automated. Perform the update—never power off the router during a firmware update. After the update, review your settings as they may reset to defaults. Set a calendar reminder every 2–3 months to check for new firmware. Additionally, power cycle your modem and router every few months to clear memory cache and refresh connections.
Step 13: Troubleshoot Common Connectivity Issues
If devices fail to obtain an IP address, check that the DHCP server is enabled on the router. If internet access is intermittent, try changing the DNS server from your ISP’s default to public options like Google DNS (8.8.8.8, 8.8.4.4) or Cloudflare (1.1.1.1) for improved reliability. For slow speeds on one device, disable any VPN on that device temporarily to see if it’s the culprit. If the router frequently drops connections and is older than three years, consider replacing it—consumer router components degrade. For mesh nodes that lose connection, move them closer to the main node and ensure direct line-of-sight if possible.
Step 14: Document Your Network Configuration
Keep a written record of your SSID, Wi-Fi password, router IP address, and admin login credentials in a secure location (e.g., a password manager or a physical safe). Log the connected devices’ MAC addresses and reserved IPs in a spreadsheet. This documentation is invaluable for future resets, troubleshooting, or when selling equipment. Label each Ethernet cable physically with its purpose (“Modem to Router,” “Router to PC”) using simple tags. For home networks with eight or more devices, consider a simple network diagram to track topology.
Step 15: Extend Coverage for Larger Spaces
If you still have weak spots after optimization, consider adding a wired access point (AP) rather than a simple range extender. Connect the AP via Ethernet to an existing router or switch—this preserves bandwidth and reduces latency. Configure the AP with the same SSID and security settings as the main router but on a different channel to avoid overlapping interference. For seamless roaming, set the AP to “Access Point” mode in its admin interface and disable its DHCP server. For outdoor coverage, use a weatherproof outdoor access point mounted under an eave, connected via PoE (Power over Ethernet).