
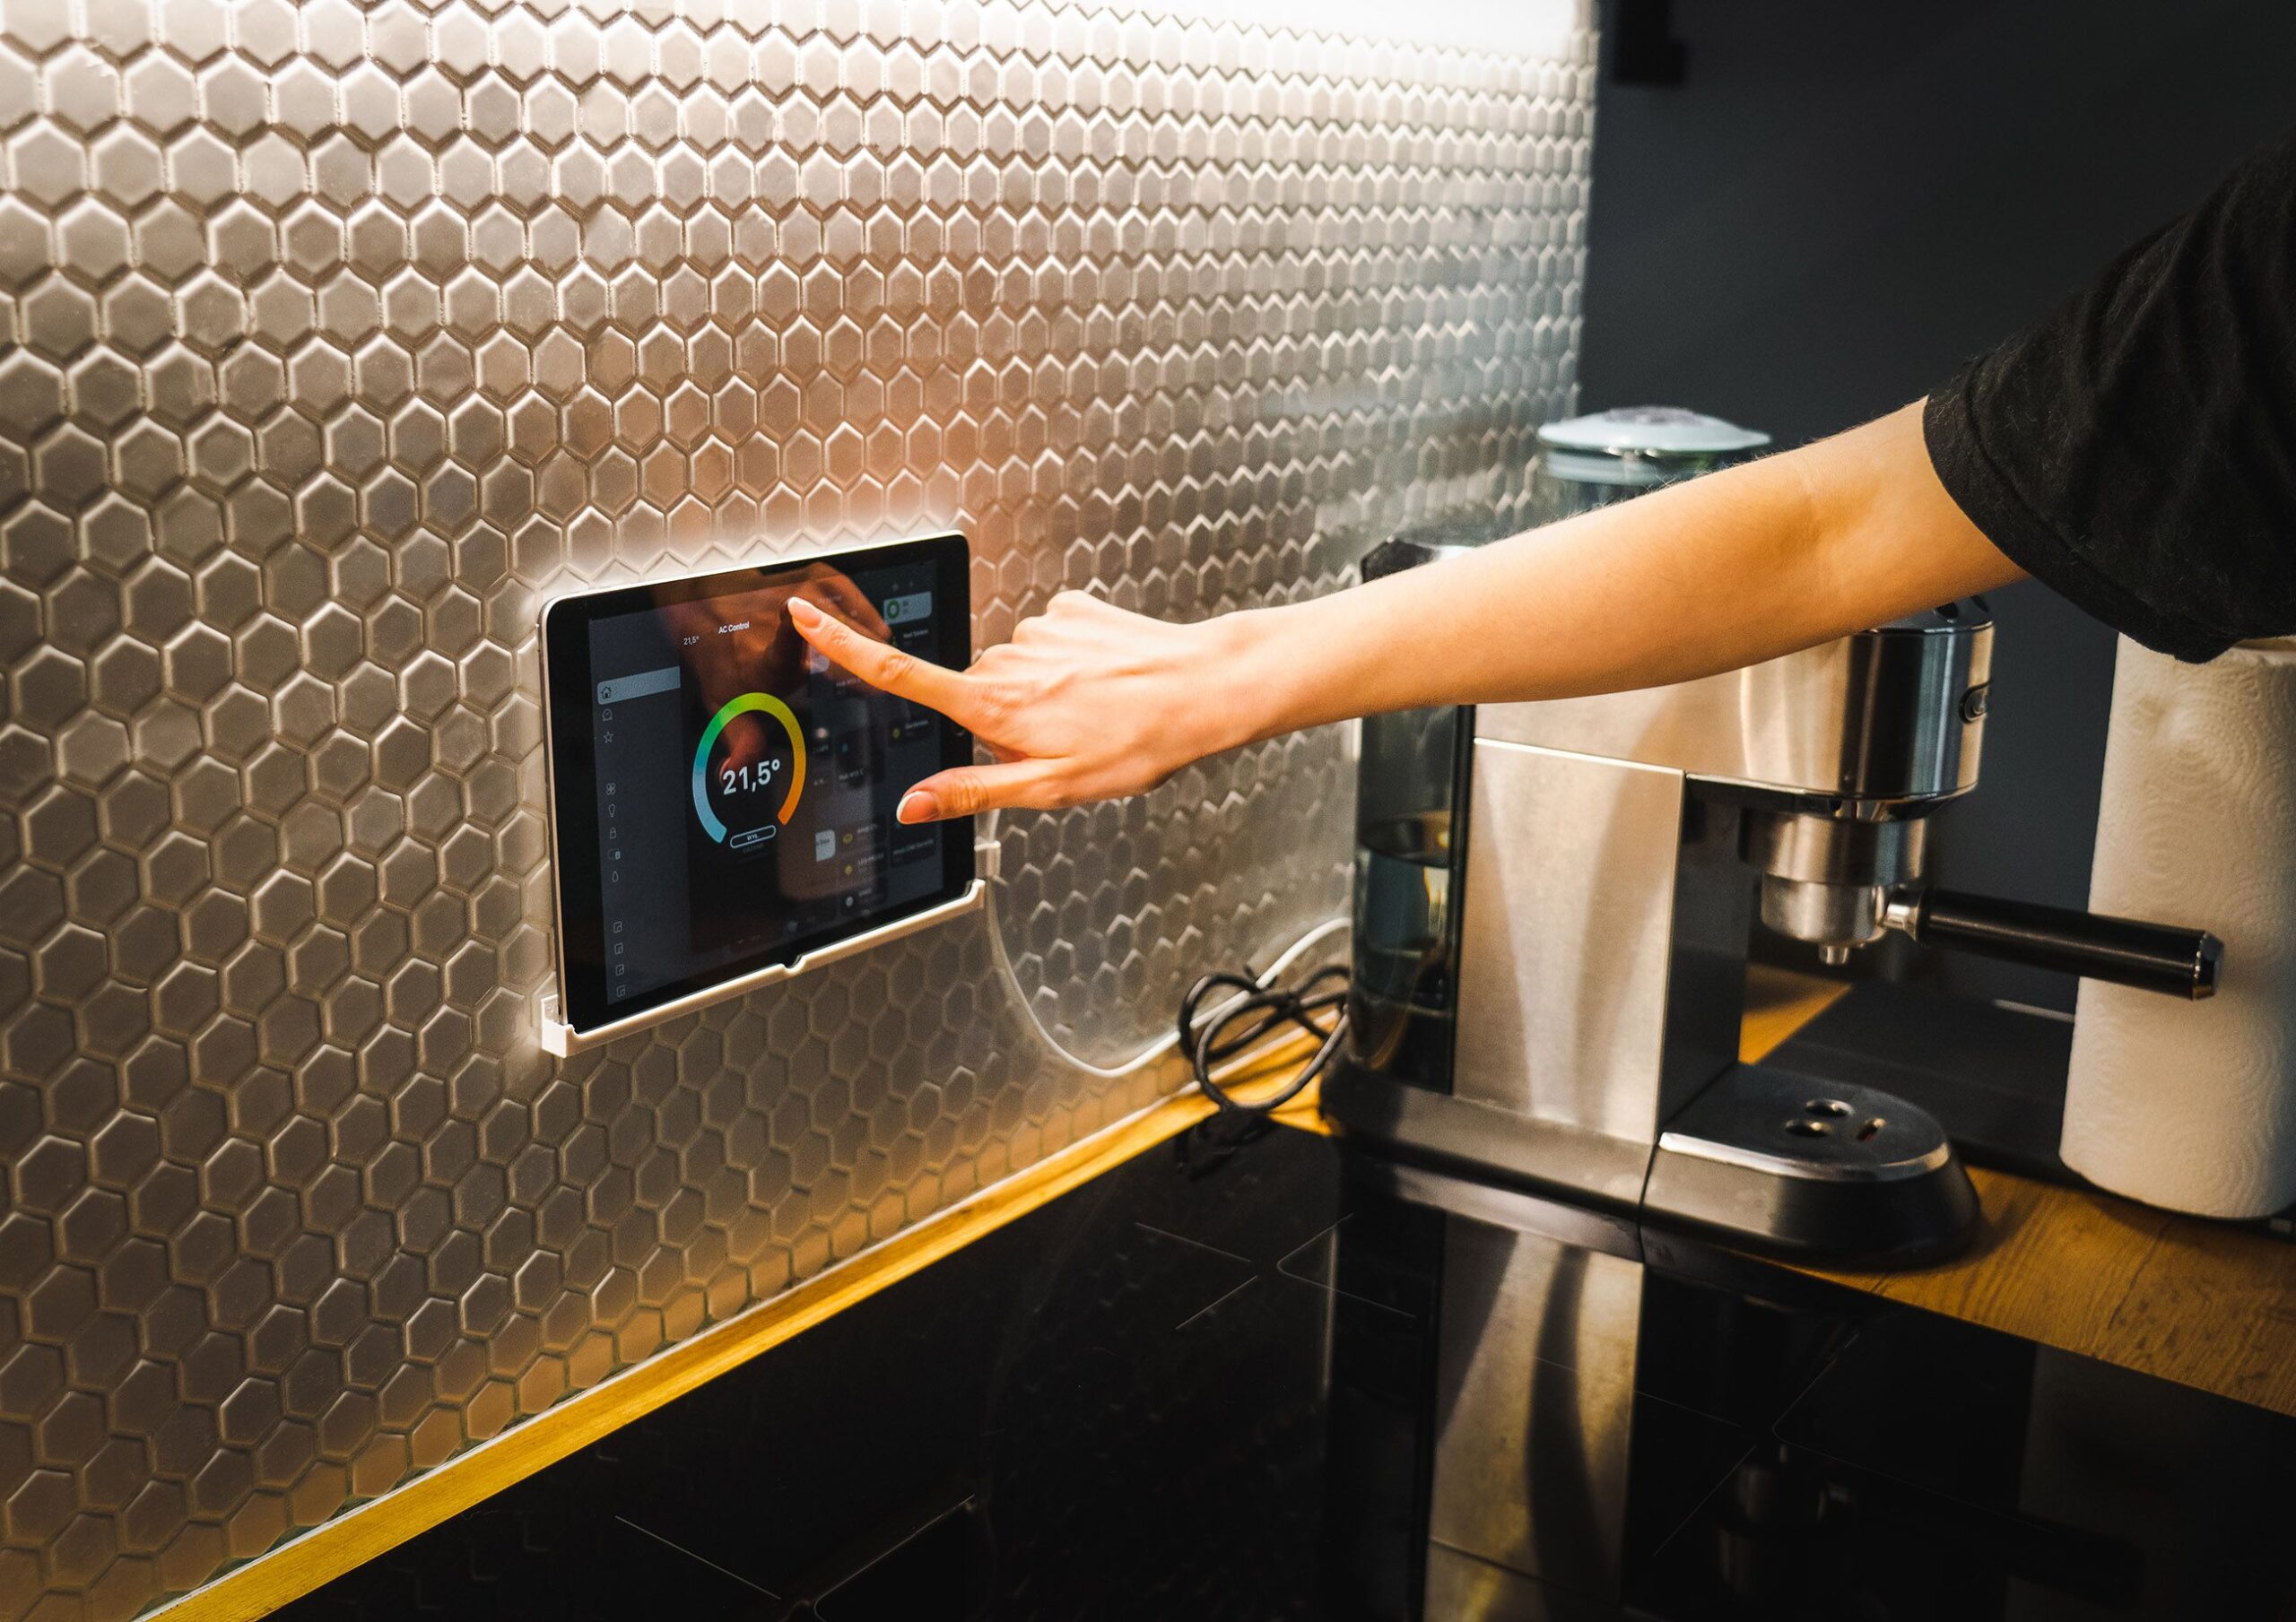
1. Arrival and Departure Presence Automation
This is the foundational automation for any smart home, leveraging presence detection (via mobile device Wi-Fi connection, GPS geofencing, or a Bluetooth beacon) to trigger a sequence of actions. When you arrive home, Home Assistant can unlock your smart lock (using a dedicated script for security), disarm the alarm system, turn on specific lights (e.g., entryway and living room to a warm 2700K brightness), set the thermostat to your preferred “Home” climate (e.g., 72°F), and begin playing your favorite playlist on a linked speaker. The departure action reverses this: lock all doors, arm the alarm, set the thermostat to an energy-saving “Away” mode (e.g., 60°F in winter, 78°F in summer), turn off all non-essential lights, and trigger any robot vacuums to start cleaning. Implement this using the person and device_tracker entities; a crucial reliability tip is to use a Bayesian sensor that combines GPS, Wi-Fi, and Bluetooth data to prevent false triggers from brief network drops.
2. Adaptive Lighting Circadian Sync
Standard static lighting disrupts your natural circadian rhythm. This automation uses Home Assistant’s adaptive_lighting integration to dynamically adjust color temperature and brightness of your smart bulbs (e.g., Philips Hue, LIFX) based on the sun’s position. At sunrise, lights shift to a cool, blue-enriched white (around 5000K-6500K) to suppress melatonin and boost alertness. As the day progresses, the color temperature gradually warms to a neutral 4000K by afternoon. After sunset, lights transition to a deep amber or red spectrum (around 2200K-1800K) and dim to 1-5% intensity to promote relaxation. To execute this, install the HACS (Home Assistant Community Store) frontend and the adaptive-lighting custom component. Configure it for your primary living zones (kitchen, office, bedroom) and set a transition time of 30-60 minutes per shift to avoid abrupt changes. For best results, pair this with a motion sensor to only activate lights when the room is occupied.
3. Weather-Responsive Window Covering
This automation prevents heat loss in winter and solar gain in summer, directly reducing HVAC energy consumption by up to 30%. Connect Home Assistant to a local weather service (e.g., OpenWeatherMap or a personal weather station) and your smart blinds or curtains (e.g., IKEA FYRTUR, Lutron Serena, or a motorized switchbot). Create a trigger for when outdoor temperature rises above a threshold (e.g., 78°F) and the sun is at a specific azimuth angle that directly faces a window. The automation then closes the blinds to block direct solar radiation while still allowing indirect daylight. In winter, trigger the blinds to open when the sun is shining directly on the window and the indoor temperature is below setpoint (e.g., 68°F). Use a sun position sensor built into Home Assistant (sun.sun) to calculate the exact timing. Add a failsafe: if wind speeds exceed 30 mph, automatically retract any external awnings or blinds to prevent damage.
4. Smart Leak Detection and Water Shutoff
Water damage is a leading cause of homeowner claims. This automation uses a Zigbee or Z-Wave leak sensor (e.g., Aqara, Zooz) placed under sinks, near water heaters, and behind toilets. When moisture is detected, Home Assistant triggers an immediate multi-step response: (1) Sends a critical push notification with an image from a nearby camera; (2) Activates a smart valve (e.g., Moen Flo, Dome) to shut off the main water supply; (3) Turns on a red smart bulb in the basement or utility room to visually alert occupants; (4) Dispatches an alert via voice assistant (e.g., “Warning: water leak detected in the laundry room”). For advanced implementation, combine this with a flow-meter sensor. By monitoring baseline water consumption, you can create a secondary automation that triggers a shutoff if flow persists for longer than a defined period (e.g., 10 minutes) when no one is home, catching silent leaks before they cause floor damage.
5. Cinematic Movie and Gaming Mode
Transform a living room into a theater with a single voice command or button press. This automation uses an activity sensor scene. When you say “Hey Google, movie time” or press a physical button on a remote (e.g., Broadlink RM4), Home Assistant triggers a sequence: (1) Dims the main living room lights to 10% brightness, 2700K color; (2) Turns on bias lighting behind the TV (e.g., Hue Play lightstrip) to 6500K to reduce eye strain and improve contrast; (3) Lowers smart blinds to 50% opacity; (4) Sets the thermostat to a cooler 70°F (as warmer temps make you drowsy); (5) Changes the AV receiver input to your streaming device (e.g., Apple TV); (6) Pauses any ongoing robot vacuum so it doesn’t start during a quiet scene. Match the ambient light level to the content—bright for gaming, dim for movies. Use a media_player state trigger to automatically return the room to “normal” mode when the movie is paused or stopped.
6. Dynamic Energy Management and Solar Optimization
For homes with solar panels and a battery system (e.g., Tesla Powerwall, Enphase), this automation maximizes self-consumption and grid independence. Home Assistant reads your real-time solar production, home energy consumption (via a CT clamp sensor like the Shelly EM or Iotawatt), and current utility rate (from an API like the local time-of-use plan). Create an automation that runs every 5 minutes: If solar production exceeds consumption by more than 1.5 kW, automatically turn on energy-intensive devices like your electric vehicle charger, pool pump, dishwasher, or water heater. Conversely, if consumption exceeds solar production (i.e., you’re pulling from grid) during peak-rate hours, trigger a pause script that reduces non-essential loads—e.g., dim lights by 30%, lower the AC setpoint by 2°F, and disable the EV charger. You can also integrate a forecast to pre-charge your battery system ahead of an expected cloudy day.
7. Guest Mode with Temporary Access Codes
When visitors, house cleaners, or Airbnb guests arrive, a simple toggle switch on a Home Assistant dashboard can trigger a series of security and convenience changes. This automation uses a input_boolean helper labeled “Guest Mode.” When activated: (1) Sends a temporary PIN code to a smart lock (e.g., August, Yale) that is valid only for a specific date range; (2) Creates a new Zigbee button (like an Aqara Mini Switch) at the entrance that, when pressed, toggles the doorbell chime on/off; (3) Disables the interior motion sensor alarms to prevent false triggers; (4) Sets the thermostat to a comfortable temperature and locks the temperature range to 68-74°F; (5) Provides a private Wi-Fi guest network QR code on a wall-mounted tablet dashboard. When Guest Mode is turned off, the automation automatically revokes the lock code, re-enables motion sensors, and returns the thermostat to your preferred schedule.
8. Automated Plant and Garden Irrigation Control
Keep your indoor plants or outdoor garden thriving without manual effort. This automation integrates an environmental sensor array (soil moisture sensor like the Xiaomi Mi Flora or a DIY ESP32 with a capacitive sensor), a weather forecast, and a smart water valve (e.g., Orbit B-Hyve or a Sonoff 4CH Pro controlling a solenoid valve). The trigger is a condition: if the soil moisture drops below a set threshold (e.g., 30% for tomatoes, 20% for succulents) AND the forecast shows < 20% chance of rain in the next 24 hours. The action sends an irrigation cycle: open the valve for a calculated duration based on plant zone (e.g., 2 minutes for potted herbs, 8 minutes for a raised bed). After watering, re-check the moisture sensor to confirm it rose above 60% and log the event. For outdoor systems, include a rain sensor override (e.g., a simple Wi-Fi rain gauge or the “Weather” integration) and time-of-day constraints (e.g., only water between 5:00 AM and 7:00 AM to reduce evaporation).
9. Smoke and CO Emergency Cleanup Sequence
Beyond just alarming, a smart home should mitigate damage during a fire or gas emergency. This automation triggers when any smoke or carbon monoxide detector (e.g., Nest Protect, First Alert Z-Wave) alerts. The sequence activates immediately: (1) If smoke is detected and the alarm is confirmed for more than 10 seconds, Home Assistant sends a voice alert through every smart speaker: “Smoke detected in [area]. Evacuating.”; (2) Turns on every light in the house to 100% brightness, white color, to illuminate escape paths; (3) Unlocks all smart deadbolts to ensure doors are not a barrier for first responders; (4) Automatically turns off the HVAC system to prevent smoke circulation; (5) If integrating a gas valve, it closes the main gas line (requires a Z-Wave gas shutoff valve). Crucially, this automation should not suppress any native alarm sounds. For carbon monoxide, the only action should be turning off all combustion appliances (furnace, water heater, stove) via smart plugs or relays, while keeping ventilation on.
10. Bedtime Wind-Down and Morning Wake Sequence
A sophisticated sleep routine that aligns with your actual sleep data and circadian needs. Start with a Bedtime trigger (e.g., via a physical button, voice command, or scheduled time). The automation: (1) Gradually reduces all upstairs lights to 0% over 30 minutes using a light.turn_on with transition: 1800; (2) Lowers the thermostat to a sleep-optimized 65°F; (3) Activates a white noise machine (or plays rain sounds on a speaker) at a low volume; (4) Locks all doors and arms the perimeter alarm; (5) If you have a smart bed (e.g., Sleep Number), adjusts the firmness to your “sleep” setting. For the Morning sequence, tie it to a sunrise alarm clock bulb (e.g., Hive, Philips Hue) that simulates a 30-minute sunrise starting 30 minutes before your wake time. When fully lit, trigger a second automation: (1) Opens bedroom blinds by 30%; (2) Sets the thermostat to 70°F; (3) Disarms the alarm; (4) Provides a spoken weather briefing and calendar summary via a speaker. Use a sleep tracking sensor (e.g., Withings Sleep) to adjust the wake time based on whether you’re in light or deep sleep within a 30-minute window.