Your 2025 Smart Home Blueprint: The Complete Beginner’s Guide to Home Assistant
The smart home landscape in 2025 is more fragmented than ever. You likely own a mix of devices: a Philips Hue bulb here, an Ecobee thermostat there, and perhaps a Ring doorbell from a previous promotion. The problem? They don’t talk to one another. Enter Home Assistant (HA), the open-source software platform that has become the de facto standard for local, private, and powerful home automation. Unlike proprietary hubs, HA gives you a single pane of glass for everything—from Matter-compatible lights to Z-Wave deadbolts. This guide walks you through setting up Home Assistant Core (or Home Assistant Operating System) in 2025, ensuring a foundation that is secure, scalable, and future-proof.
Step 1: Choose Your Hardware Path (The 2025 Reality Check)
Home Assistant is not a cloud service; it runs on hardware you control. In 2025, three primary deployment paths dominate.
-
The Recommended Path: Home Assistant Green or Yellow
These are official hardware devices pre-loaded with Home Assistant OS. The Green ($99) is a plug-and-play powerhouse for beginners, featuring a quad-core processor and 32GB of storage. The Yellow ($149) adds a built-in Zigbee radio and PoE (Power over Ethernet) capability, ideal for advanced users. For 2025, the Green remains the gold standard for zero-fuss setup. -
The DIY Path: Raspberry Pi 5 or Mini PC
The Raspberry Pi 5 (4GB or 8GB) remains viable, but avoid the Pi 4; its aging eMMC and limited IO can bottleneck complex automations. A more stable option is a used Intel NUC or a low-power mini-PC (e.g., Beelink SER5), which handles intensive integrations like Frigate NVR (camera AI) without lag. Install Home Assistant OS via the Raspberry Pi Imager or Balena Etcher. -
The Virtualization Path: Proxmox or VirtualBox
If you already run a homelab, install HAOS as a virtual machine. Proxmox VE (version 8.x) offers near-native performance with PCIe passthrough for Z-Wave sticks. This path requires basic Linux knowledge but provides snapshot backups and resource isolation.
Step 2: Initial Installation and First Boot
-
Flashing the Image: Download the Home Assistant OS image (latest stable build, v2025.6.x) directly from home-assistant.io. Use the official Raspberry Pi Imager (for PI) or Rufus (for Windows) to write the image to an 32GB+ SD card or NVMe drive. Warning: Do not use a USB flash drive for the OS; it introduces I/O bottlenecks.
-
First Boot: Insert the media, connect Ethernet (Wi-Fi can be configured later), and power on. Wait 10–15 minutes. Access the web interface at
http://homeassistant.local:8123or find its IP via your router’s DHCP list. You will see a short onboarding wizard. -
Account Creation: Create a local admin account. Do not enable Home Assistant Cloud yet. Select your time zone and language. HA will begin a hardware detection scan.
Step 3: The 2025 Integration Strategy (Beyond the Basic Dashboard)
Home Assistant’s strength lies in its 1,900+ integrations. Beginners often make the mistake of adding everything at once. Use a phased approach.
-
Phase A: Core Integrations (Day 1)
Navigate to Settings > Devices & Services > Add Integration.- ZHA (Zigbee Home Automation): If you have a compatible coordinator (e.g., Sonoff ZBdongle-P or HA Yellow’s embedded radio), click Configure. Pair your lights, sensors, and plugs by putting them in pairing mode. For 2025, use the Slieha or Third Reality brands for cost-effective, reliable sensors.
- Z-Wave JS: For Z-Wave locks (e.g., Schlage Encode Plus) or sensors, install the Z-Wave JS integration. Use an 800-series stick (Zooz 800 or Aeotec Z-Station) for best range.
- Matter: For Thread/Matter devices (e.g., Nanoleaf Essential Bulbs, Eve sensors), install the Matter integration. HA supports Matter 1.3 in 2025, which adds energy management and new device types. Use an Apple TV 4K (2025) or HomePod as a Thread border router.
-
Phase B: Cloud-to-Local Conversion (Week 1)
Minimize cloud dependencies.- Replace cloud-based Wi-Fi plugs (e.g., TP-Link Kasa) with local-only alternatives (e.g., Shelly PM1) via the Shelly integration.
- For non-compatible devices, use the ESPHome integration. Flash a $5 ESP32 board with ESPHome firmware to control LEDs, relays, or sensors—fully local, no cloud.
Step 4: Designing a Dashboard That Doesn’t Confuse You
The default Lovelace dashboard is functional but ugly. In 2025, the Mushroom and Sections dashboards define modern design.
-
Install HACS (Home Assistant Community Store):
Add HACS to unlock custom cards, themes, and integrations. Use the HACS installation guide (manual repository addition via Developer Tools). Then install:- Mushroom Cards: For clean, interactive buttons (lights, covers, temperature).
- Custom Bar Card: For a top navigation bar (e.g., House, Lights, Climate, Security).
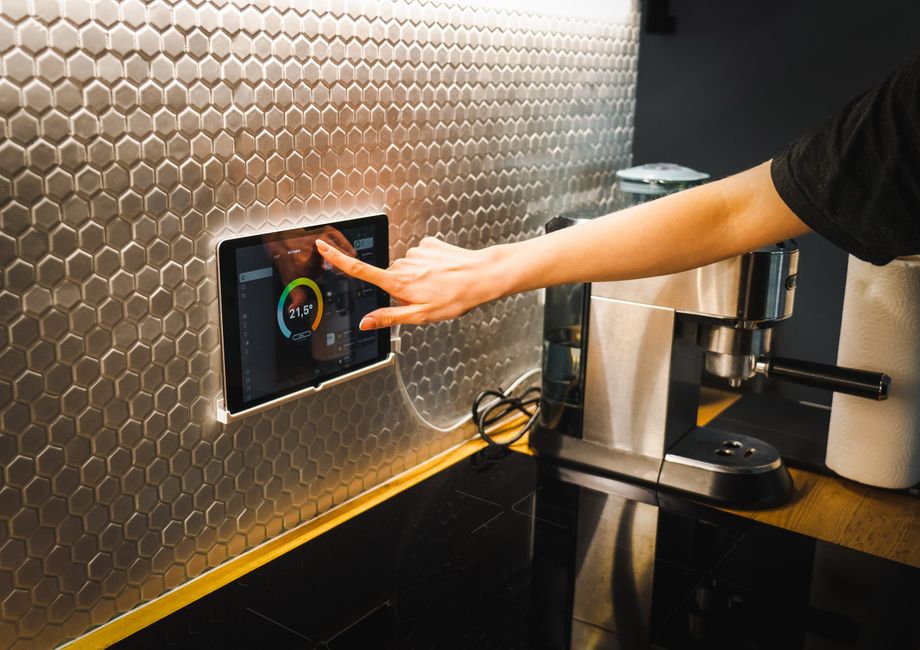
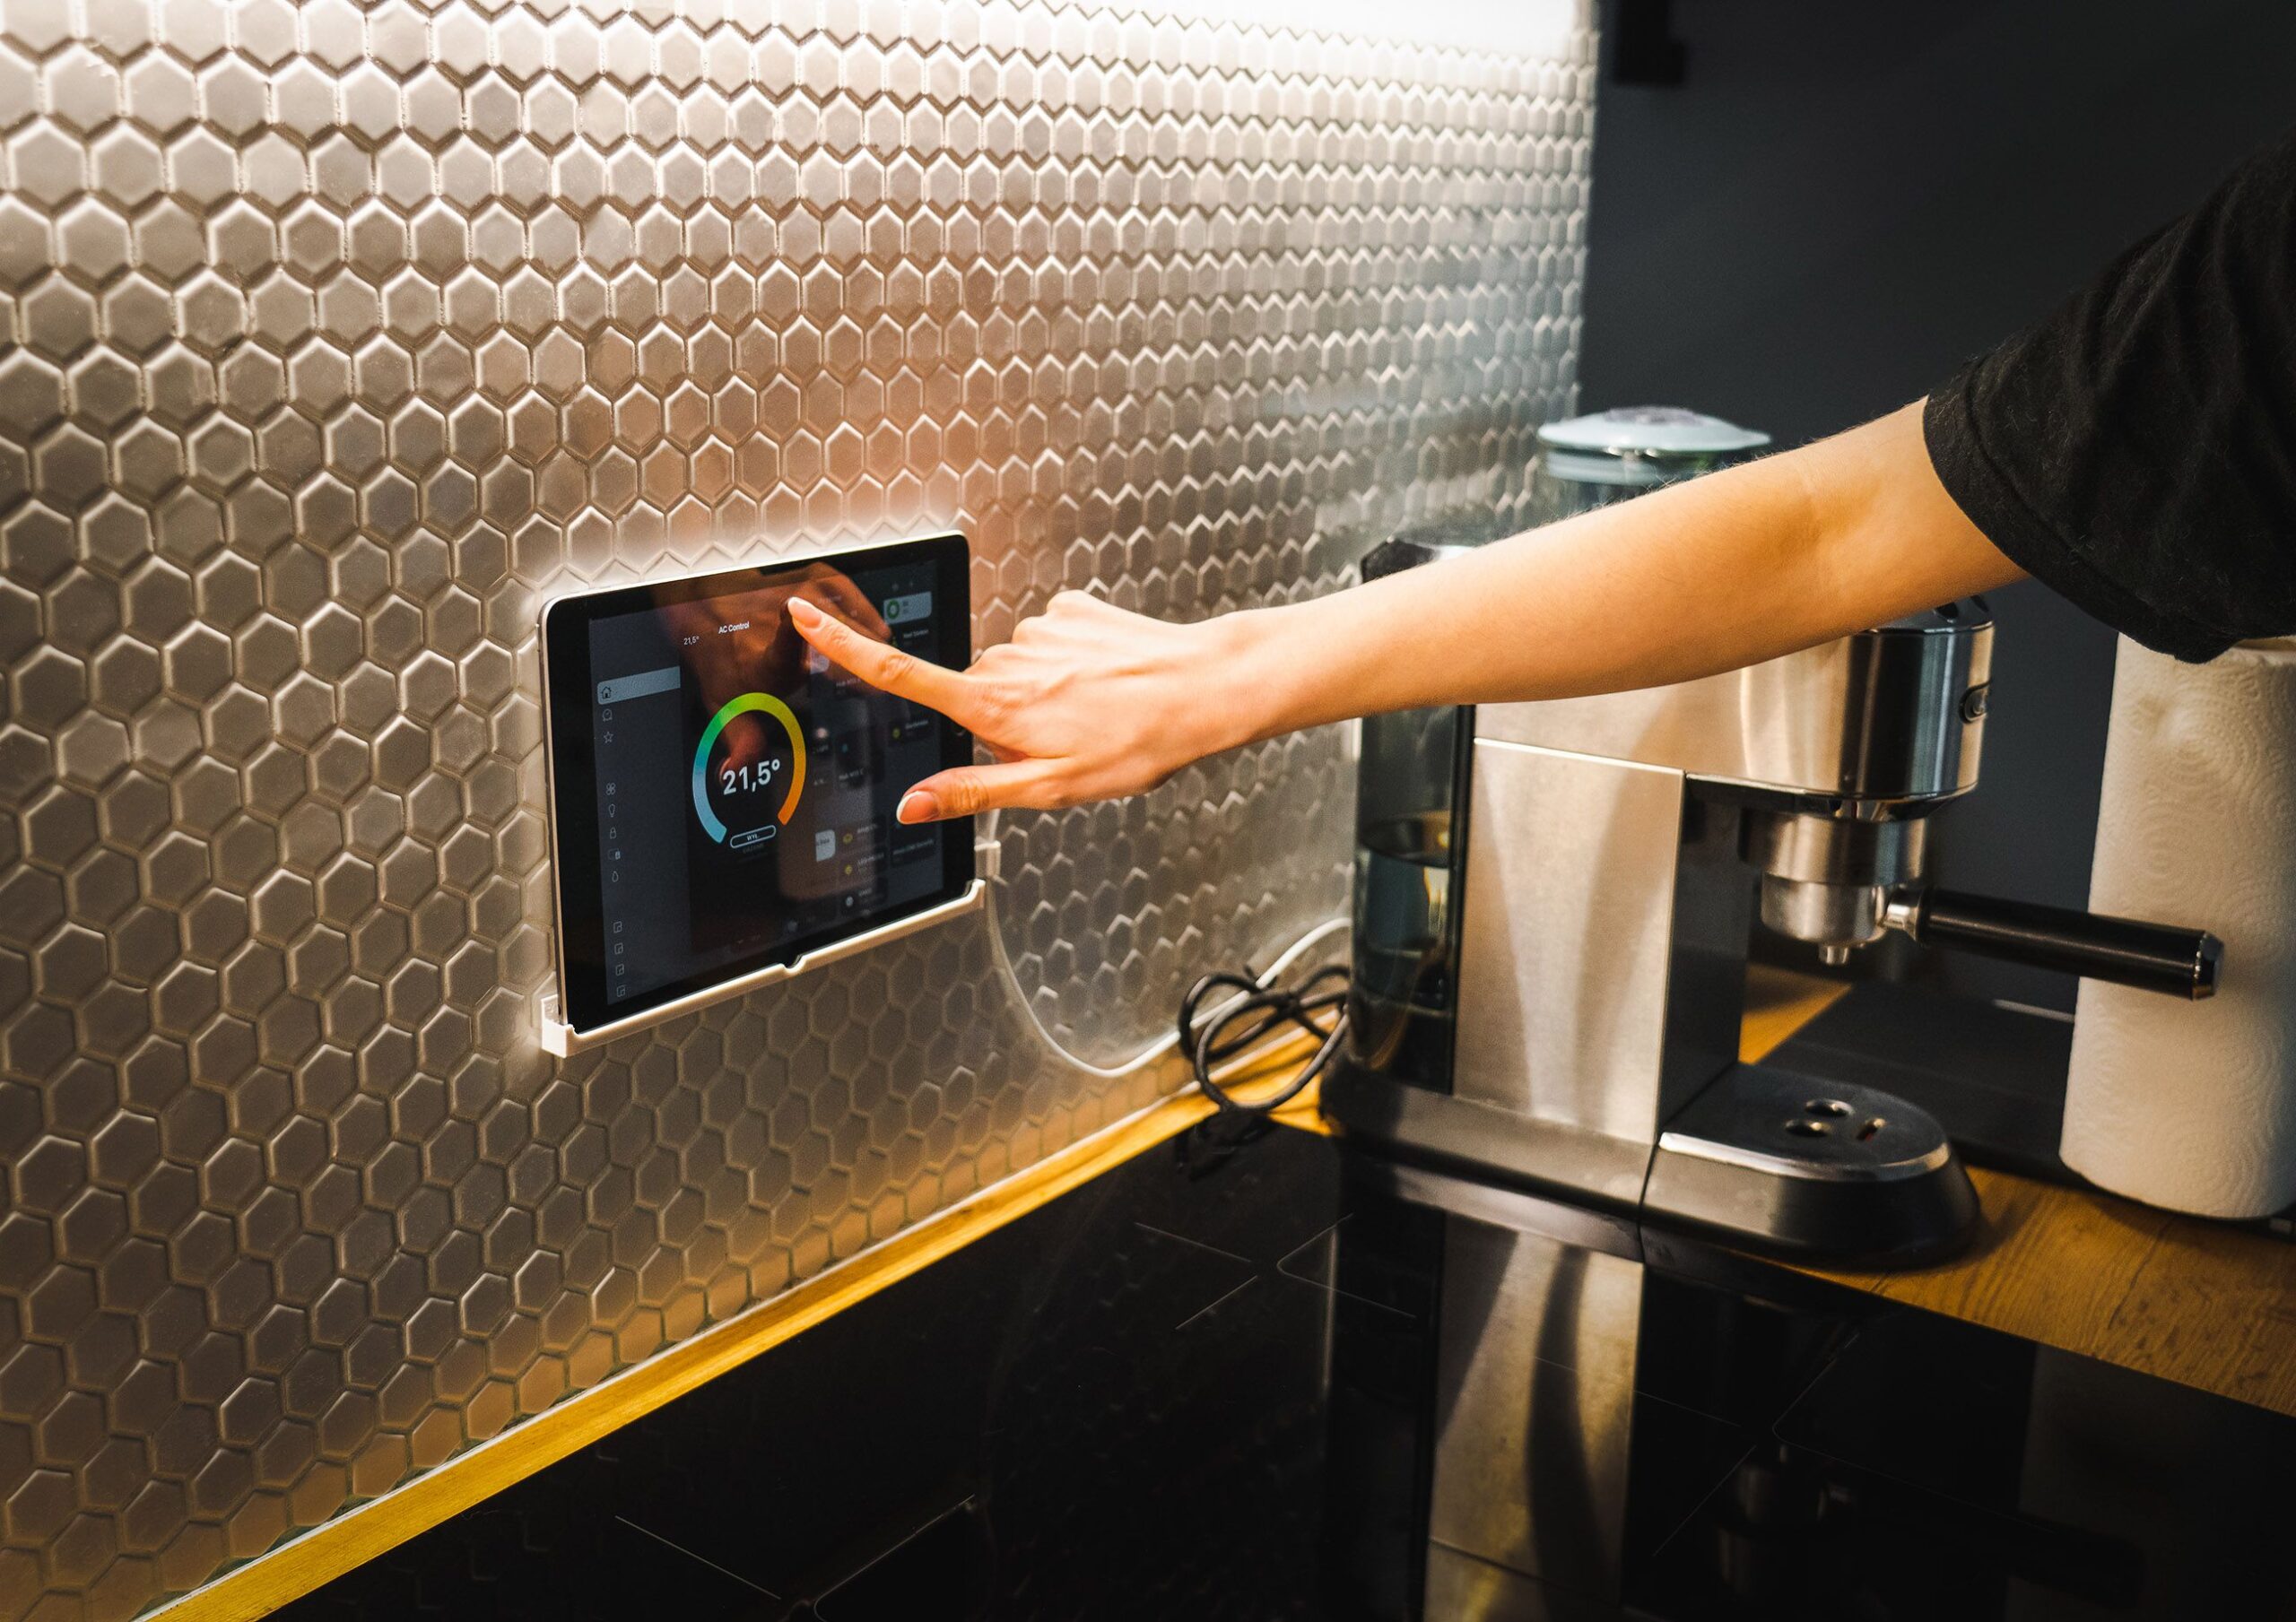
- Kiosk Mode: For wall-mounted tablets (disable sidebar and top bar).
-
Build Your Primary View:
Use a Clear Grid layout.- Top row: Quick actions (Toggle: “Sleep Mode,” “Away”).
- Second row: Current indoor/outdoor temperature and humidity.
- Third row: Active rooms (Living Room, Bedroom) with light and media player controls.
- Bottom row: Camera feeds (tapping expands to full-screen via the Picture-Glance card).
Step 5: Automations—The Real Magic
Automations in 2025 are written via the visual editor or YAML. Start with triggers, conditions, and actions.
-
Example: Adaptive Lighting
- Goal: Lights warm to 2700K at sunset and cool to 5000K at noon (circadian rhythm).
- Install: The “Adaptive Lighting” integration via HACS.
- Configuration: Set your location, turn on “Take Over Control” (so manual dimming doesn’t fight the automation). Create a simple automation: “When time is after sunset → Call Service: Adaptive Lighting.apply to all lights.” No YAML required.
-
Example: Vacation Mode (One-Button Global Off)
- Trigger: Button press on a dashboard scene or a physical Zigbee button (e.g., Aqara Wireless Mini Switch).
- Action:
- Toggle climate to eco (away temp: 55°F).
- Turn off all lights.
- Lock all doors (via Z-Wave lock integration).
- Randomize light schedules (use the “Randomize” action in Blueprints).
- Blueprint: Search for “Vacation Mode” in Settings > Automations > Blueprints > Explore.
Step 6: Security and Remote Access (Critical for 2025)
Home Assistant runs locally, but you still need remote access for away-from-home control.
-
Use Nabu Casa Cloud: $6.50/month. Supports voice assistants (Alexa, Google), secure remote access, and WebRTC for high-quality camera streaming. This is the safest option for beginners. Setup: Settings > Home Assistant Cloud > Log in with Nabu Casa account.
-
Self-Hosted VPN (Advanced): WireGuard is the gold standard. Install the WireGuard add-on, configure a peer on your phone. Access HA via
http://192.168.1.100:8123while VPN is active. Never expose HA directly to the internet via port forwarding—it risks brute-force attacks and data leaks. -
Backup Regularly: Use the “Google Drive Backup” add-on (HACS). It automatically uploads snapshots (settings, automations, integrations) to a private Google Drive folder. Schedule this nightly.
Step 7: Voice Assistants and Media Control (The 2025 Experience)
-
Local Voice Pipelines: Install the Wyoming protocol add-ons (e.g., Piper for TTS, Whisper for speech-to-text). Use a USB microphone or an ESP32-based voice satellite. This allows local voice control (“Turn off the kitchen lights”) without internet dependency.
-
Media Player Aggregation: Use the “Music Assistant” integration (via HACS) to unify Spotify, Tidal, Plex, and local FLAC libraries into one browser. Control groups of speakers via scripts.
Step 8: Energy Management (Home Assistant’s Killer Feature in 2025)
Energy prices are volatile. HA’s Energy Dashboard tracks solar production, battery storage, grid consumption, and individual device usage.
- Setup: Settings > Energy > Add consumption sensors. If you have a CT clamp (e.g., Emporia Vue 2 or IotaWatt), add it via the integration.
- Automations: Create a “Solar-Smart” automation. When solar production exceeds 50% of battery state, turn on the EV charger (via OCPP integration for Wallbox or JuiceBox). When battery drops below 20% during peak hours (e.g., 4–9 PM), switch the water heater to off-peak mode.
Step 9: Troubleshooting Common Beginner Issues
- Zigbee Interference: If lights drop from the mesh, move the coordinator away from USB 3.0 ports (they emit 2.4GHz noise). Use a 1-meter USB extension cable.
- Slow Dashboard Load: Reduce the number of entities on one view. Use “conditional cards” to hide off-state entities.
- Update Stalls: Never update via “Check for Updates” on a production system without a backup first. Snapshots are your safety net.
Step 10: Scaling for 2025 and Beyond
- Add Node-RED for Complex Logic: If visual automations feel limited, install the Node-RED add-on. It enables loops, API calls, and complex conditional chains.
- Frigate NVR: For camera AI (person detection, car plate reading), require a Coral TPU stick and a dedicated mini-PC with an Intel QSV-capable CPU. Integrate via the Frigate integration.
- Watch the Logs: The “Logbook” and “System Log” tabs are your best friends. Red errors mean something failed—click the error code to find a GitHub issue or forum post.
Resource Links for 2025
- Official Documentation: www.home-assistant.io/docs/
- Blueprint Exchange: community.home-assistant.io/c/blueprints/
- Hardware Compatibility List: www.home-assistant.io/hardware/
Your Home Assistant journey is iterative. Start with one device, build one automation, then expand. The ecosystem rewards patience and experimentation.